

Transforming your garage from a cluttered utility space into an inspiring, aesthetically pleasing extension of your home doesn’t require a massive renovation budget. By harnessing strategic color theory, clever layout adjustments, and affordable DIY finishes, you can completely redefine how your garage looks and feels. Whether you want an industrial minimalist workshop or a polished, modern aesthetic, the right paint and surface treatments make all the difference.
Across the following twenty-five curated sections, discover professional techniques spanning color blocking, durable floor coatings, built-in styling, and creative lighting strategies tailored specifically for budget-conscious homeowners looking to elevate their garage spaces.
Float an asymmetric matte charcoal epoxy zone to visually anchor the tool bench area
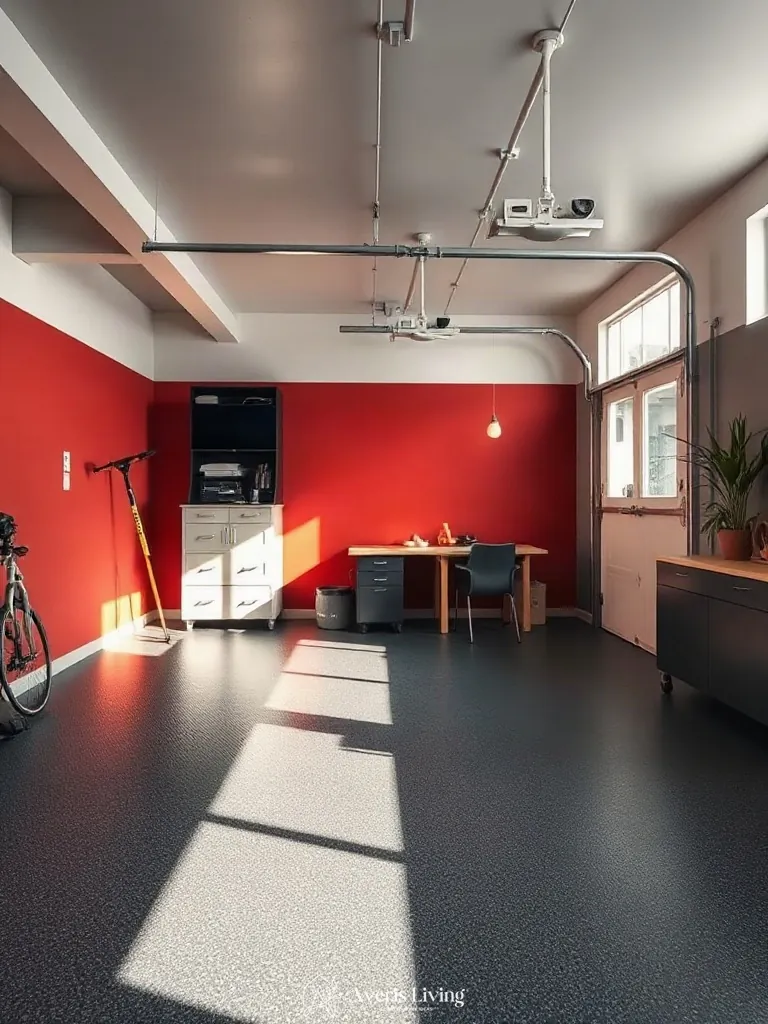
When integrating functional zones, floating an asymmetric matte charcoal epoxy zone visually anchors the tool bench area by manipulating spatial weight. Just like arranging a conversation group in a living room, defining this specific 4-by-6-foot footprint establishes clear traffic pathways. This layout trick prevents clutter from spilling into active walkways, maintaining a balanced sightline from the main entrance.
To execute this spatial boundary, mask an asymmetric perimeter on bare concrete using 2-inch painter’s tape. Apply a two-part solvent-based matte charcoal epoxy coating within the bounded footprint, ensuring a minimum 36-inch clearance around the workbench for unobstructed movement and safe workshop navigation.
Divide the workshop corner using a rolling pegboard partition painted in soft sage satin latex
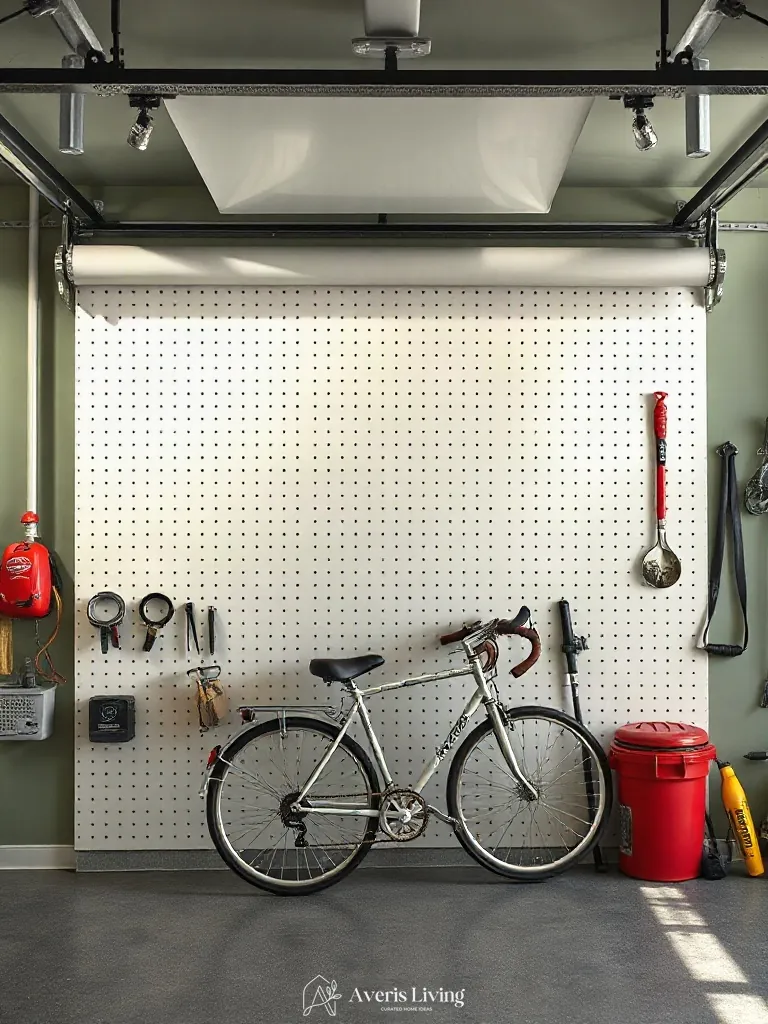
Dividing a workshop zone requires careful spatial arrangement to maintain smooth traffic flow and clear sightlines from the main living room threshold. By introducing a rolling pegboard partition finished in soft sage satin latex, you carve out a dedicated activity hub without permanently altering room dimensions. This mobile divider preserves crucial floor clearance, allowing effortless reconfiguration while maintaining strict visual balance across the entire layout.
Construct the 4×6 foot mobile frame using 3/4-inch exterior-grade plywood fitted with heavy-duty locking casters. Position the partition three feet away from the workbench to ensure ergonomic turning radii and unobstructed tool access. Apply two coats of moisture-resistant satin latex to withstand daily workshop demands while effortlessly introducing affordable garage colors into your functional layout scheme.
Anchor the empty back wall with a tall metal storage cabinet coated in budget-friendly burnt orange enamel
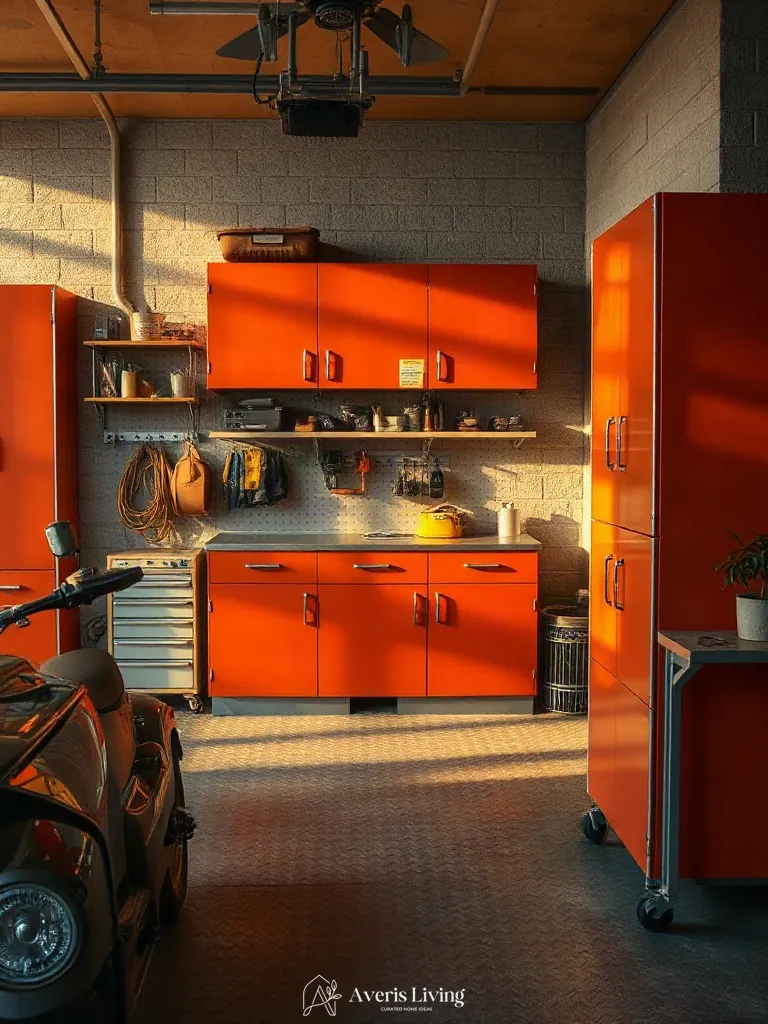
Placing a tall metal storage cabinet against the far rear perimeter optimizes traffic flow and establishes a strong focal point that balances asymmetric floor plans. This vertical placement maximizes spatial clearance while drawing the eye upward to enhance perceived volume.
Leave a 36-inch front clearance aisle to ensure smooth movement past parked vehicles. Coat the steel unit in burnt orange enamel using an oil-based spray formula for a resilient, high-contrast finish.
Arrange a modular workbench layout flanked by contrasting white masonry paint zones to open sightlines
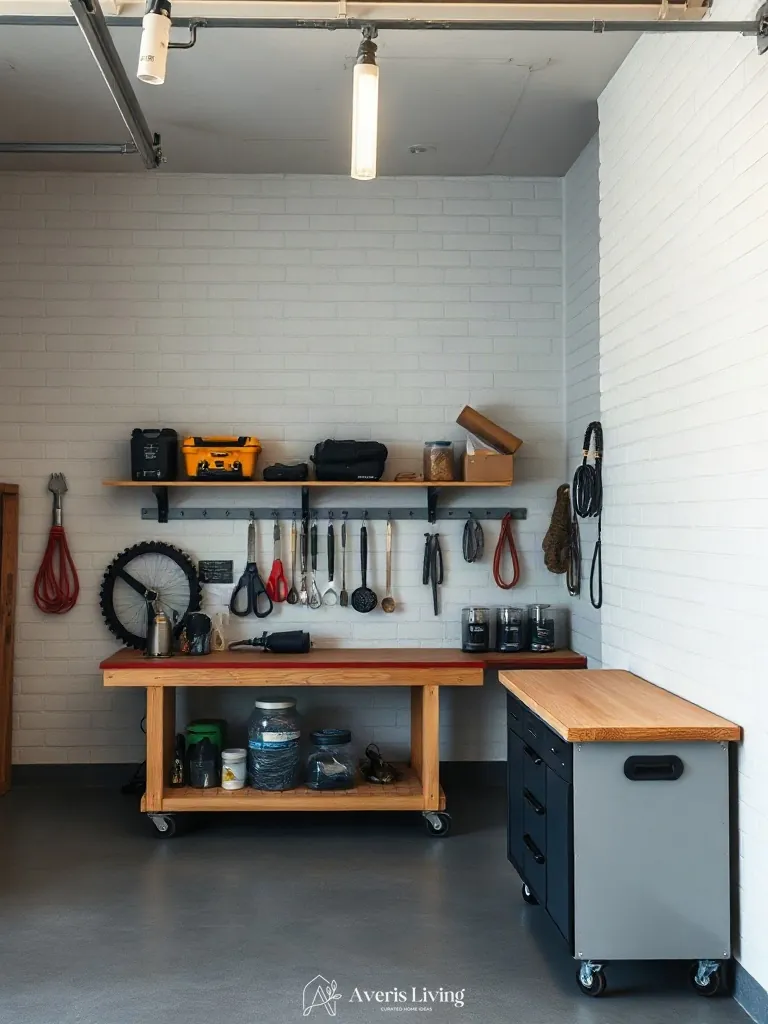
Arranging a modular workbench flanked by crisp white masonry paint zones dramatically expands sightlines in a living room converted workshop. Bounding the central workspace with high-reflectivity masonry finish bounces ambient light across the perimeter, creating an expansive illusion of square footage without structural changes.
Position the modular bench centrally, maintaining a strict 36-inch clearance perimeter for unobstructed traffic flow. Flank the unit with vertical 10-inch white masonry blocks coated in exterior-grade acrylic latex, ensuring optimal visual balance and seamless spatial symmetry.
Frame an exposed stud wall with vertical MDF slat panels finished in weather-resistant taupe stain
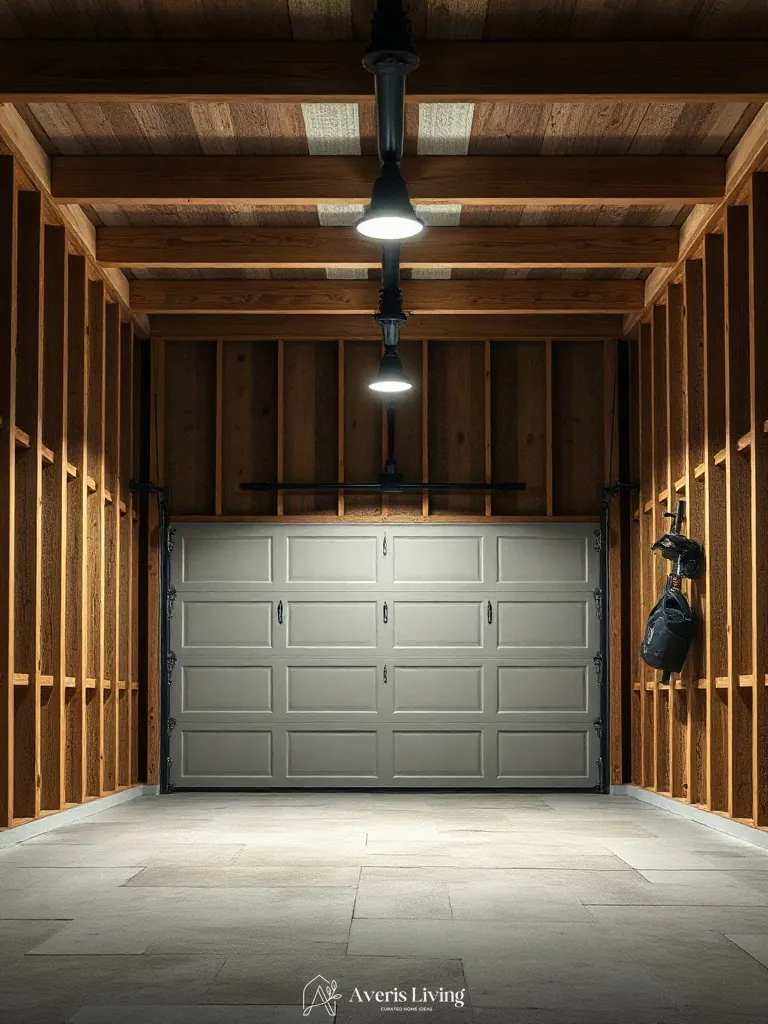
Transforming raw framing into a polished architectural feature delivers high-end visual depth suited for modern living spaces. By integrating vertical Medium Density Fiberboard slats directly over exposed structural supports, you create a sophisticated texture that redefines utility walls. Applying a rich weather-resistant taupe stain elevates the overall palette, proving that Affordable Garage Colors can achieve bespoke architectural refinement without extensive structural reconstruction.
Begin by securing one-by-three-inch moisture-resistant MDF planks vertically at four-inch intervals across your existing wall studs using a pneumatic finish nailer. Countersunk 2-inch brad nails ensure a seamless face before applying two coats of semi-transparent taupe wood stain with a natural-bristle brush, wiping away excess pigment for an even, grain-enhanced finish.
Build a custom drop-zone bench using primed lumber painted in moody forest green semi-gloss
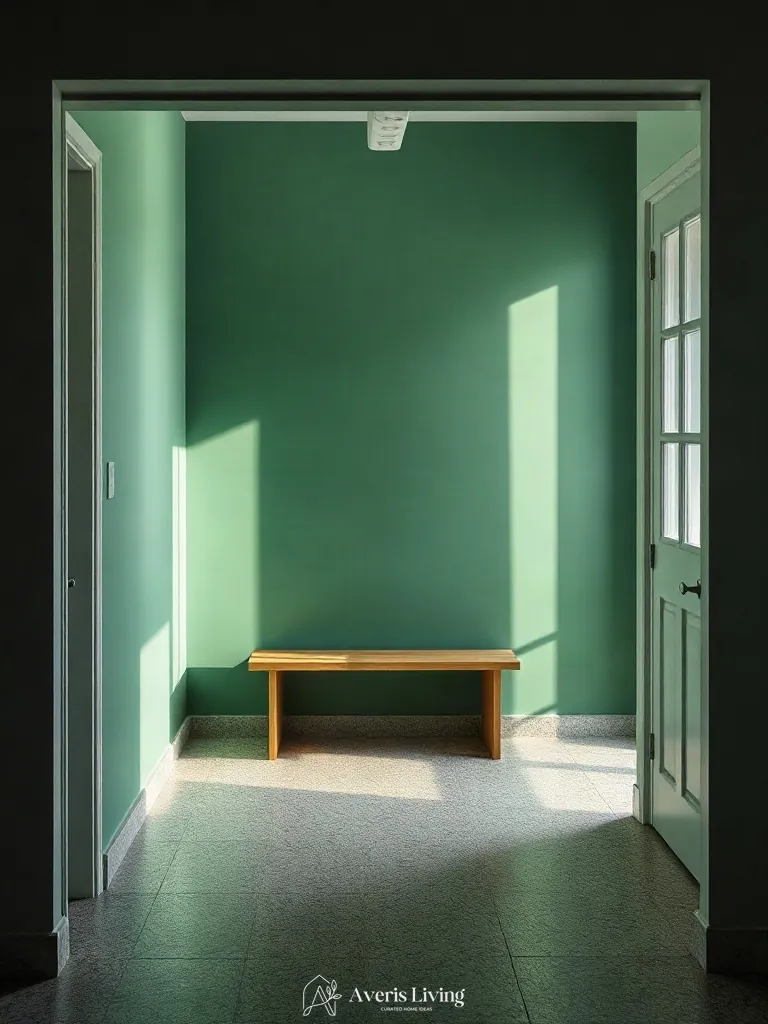
Integrating a custom drop-zone bench introduces high-end architectural joinery that anchors an entryway transition while maximizing vertical efficiency. Fabricating this built-in from paint-grade dimensional lumber allows homeowners to achieve bespoke millwork affordably. Finishing the structure in a moody forest green semi-gloss creates a sophisticated contrast against neutral drywall, pairing durability with striking visual depth.
Construct the bench frame using 2×4 SPF lumber anchored directly to wall studs at a comfortable seating height of 18 inches. Fasten a 3/4-inch MDF top board and secure a vertical beadboard back panel extending 48 inches upward. Apply two coats of moisture-resistant semi-gloss enamel using a high-density foam roller for a flawless, factory-like sheen.
Install a ceiling-mounted galvanized steel track system paired with overhead storage bins in crisp eggshell white
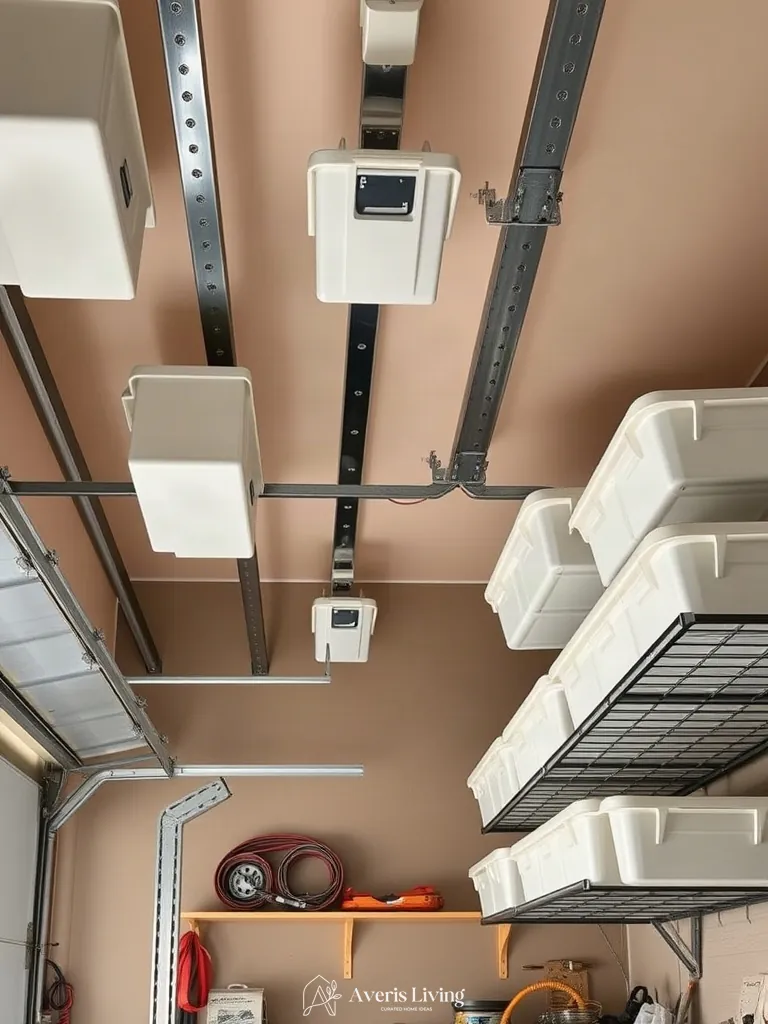
Maximizing overhead architectural volume transforms neglected vertical space into sleek storage. Suspending a galvanized steel track system from ceiling joists introduces industrial structure while keeping floor perimeters entirely clear. Pairing these robust metal rails with crisp eggshell white storage bins reflects midday sunlight downward, brightening the entire footprint. This architectural overhead intervention establishes clean lines that complement Affordable Garage Colors applied to surrounding walls.
Secure 12-gauge galvanized steel tracks directly into ceiling studs using three-inch structural lag screws spaced sixteen inches apart. Snap standardized twenty-four by sixteen-inch eggshell white polyethylene bins securely into the mounted channels. Ensure a minimum clearance of seven feet from the finished floor to maintain unobstructed vehicle clearance beneath the suspended installation.
Construct a recessed sports-gear cubby accented with chalkboard slate paint for easy organization
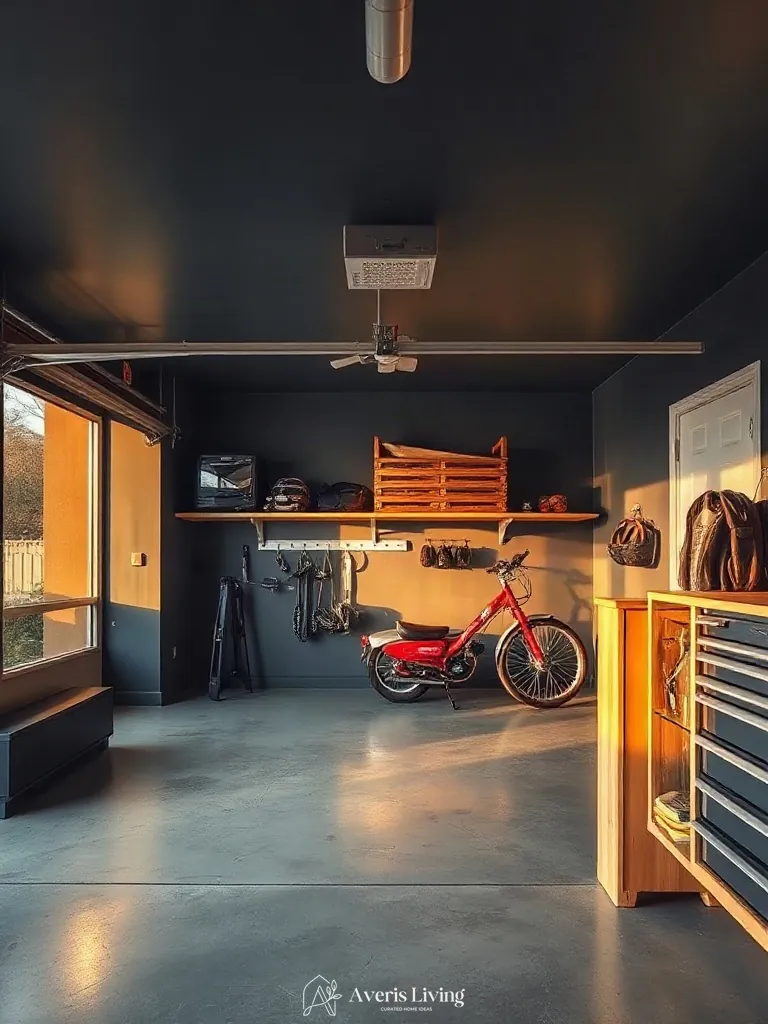
Integrating custom architectural joinery transforms utilitarian storage into high-end millwork, mimicking refined living room built-ins. Constructing a recessed sports-gear cubby between standard 2×4 framing studs creates flush profiles, utilizing 3/4-inch birch plywood for structural rigidity and load-bearing capacity.
Frame the interior cavity to 48 inches wide by 72 inches high. Apply three coats of low-VOC chalkboard slate paint directly to the back panel for customizable gear labeling. Seal surrounding trim with semi-gloss latex to achieve a durable finish that complements affordable garage colors.
Apply gray epoxy flake floor coating over oil-stained concrete for an instant seamless workshop base
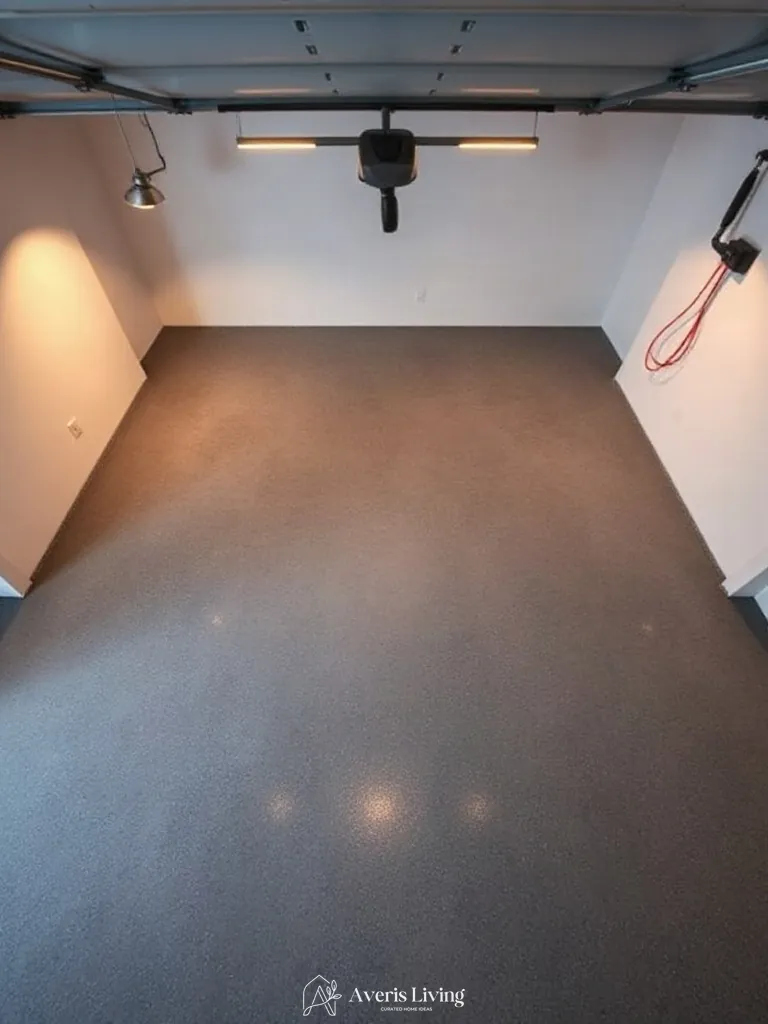
Transforming oil-stained concrete requires dense epoxy embedded with multi-colored vinyl chips. This seamless finish creates a durable, high-friction surface that diffuses evening lamplight just like polished granite or slate. The tactile finish hides minor subfloor imperfections while elevating the space beyond standard concrete, seamlessly tying into adjacent living room design aesthetics through sophisticated light reflection.
Etch the 4-inch thick concrete slab using a muriatic acid solution before applying the 100-percent solids epoxy base coat at a 10-mil thickness. Broadcast decorative vinyl flakes evenly across the wet resin. Seal the entire floor with a clear polyurethane topcoat to lock in the textured finish.
Juxtapose raw concrete lower walls with vibrant sunshine yellow satin paint on the upper drywall
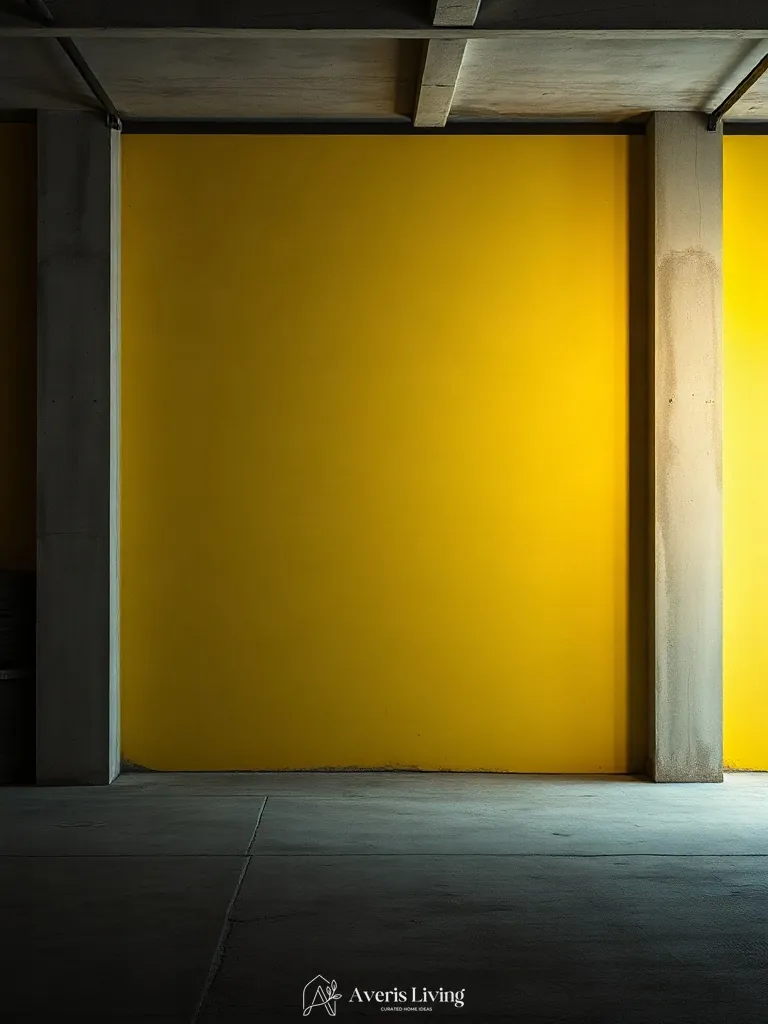
Blurring the line between high-end editorial and rugged utility, this striking treatment pairs porous, tactile raw concrete lower walls with luminous sunshine yellow satin paint on upper drywall. The satin sheen catches ambient side-lighting to bounce a warm glow across the rough masonry. This sophisticated strategy redefines Affordable Garage Colors with an unexpected interplay of matte, chalky stone surfaces and smooth, light-reflecting coatings.
Tape a crisp horizontal sightline exactly forty-eight inches from the finished floor using blue painter’s tape. Apply two coats of 100% acrylic satin latex paint to the upper drywall using a woven 3/8-inch nap roller to maximize the paint’s luminous finish.
Mount acoustic felt wall panels wrapped in charcoal gray fabric behind the workbench zone
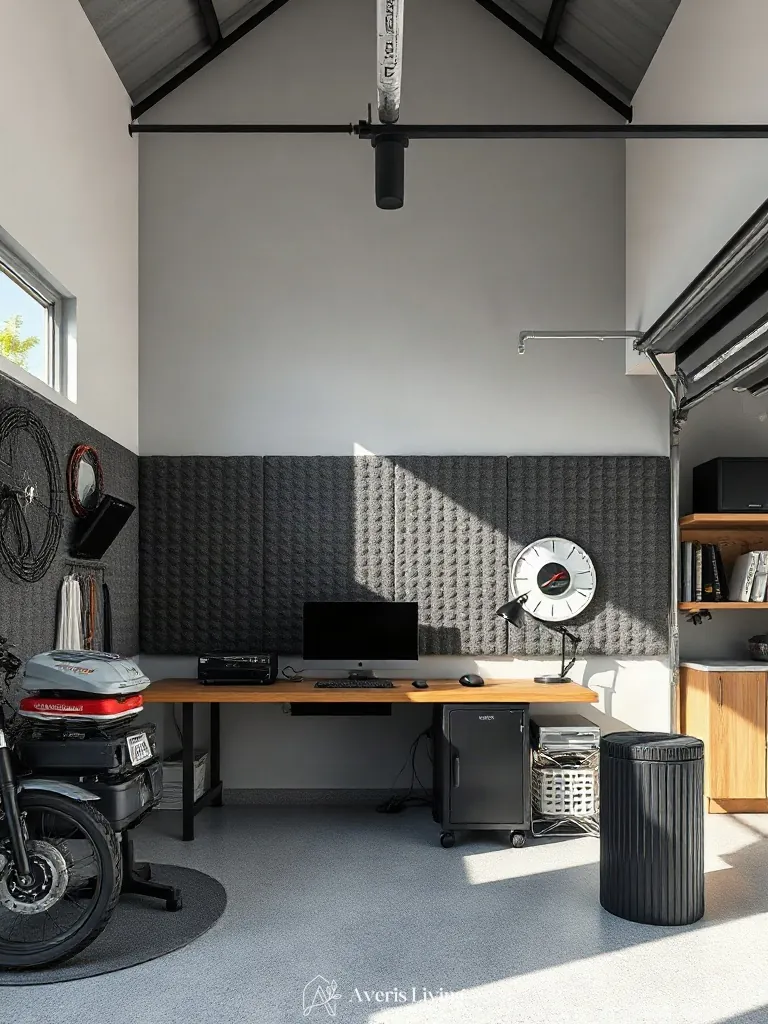
Integrating charcoal gray acoustic felt wall panels behind your workbench introduces a sophisticated tactile dimension. This dense synthetic wool-blend fabric absorbs high-frequency tool noise while offering a velvety matte finish that contrasts sharply against raw concrete surfaces. Morning light raking across the textured weave creates subtle shadow play, elevating utilitarian spaces to architectural living room standards of refinement.
Secure 1-inch thick interlocking modular acoustic tiles directly to drywall using heavy-duty construction adhesive. Space each 24×24-inch panel with a precise 1/8-inch reveal for a tailored shadow-line effect.
Spray-paint old metal shelving units with metallic hammered bronze for a high-end vintage aesthetic
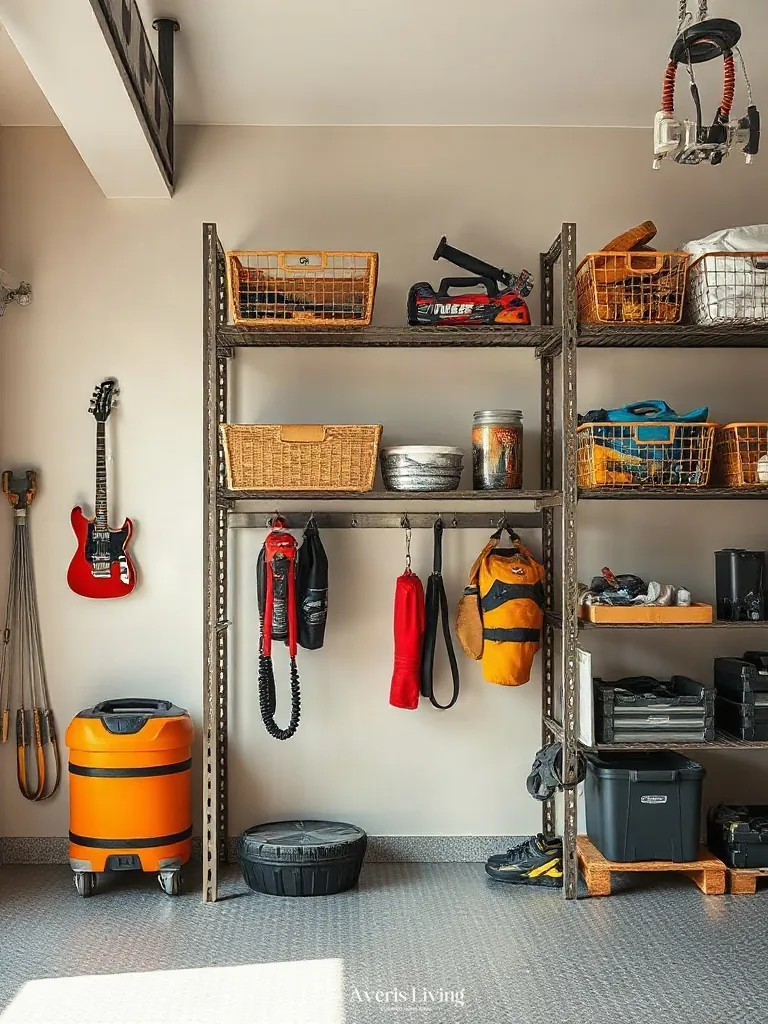
Upgrading utilitarian storage units requires focusing on tactile finishes that catch ambient rays. When direct midday sun strikes a metallic hammered bronze finish, it diffuses harsh glare across industrial steel frames, mimicking the tactile warmth of brushed walnut or oxidized wrought iron. This sophisticated texture softens the starkness of adjacent raw concrete and elevates the utilitarian envelope.
To achieve this, thoroughly degrease your metal shelving with mineral spirits. Apply two coats of high-adherence rust-inhibitive primer, followed by an even spray application of textured bronze lacquer from twelve inches away for a durable, tactile patina.
Seal bare cinder block walls with a waterproof clear polyurethane coat over a whitewash tint
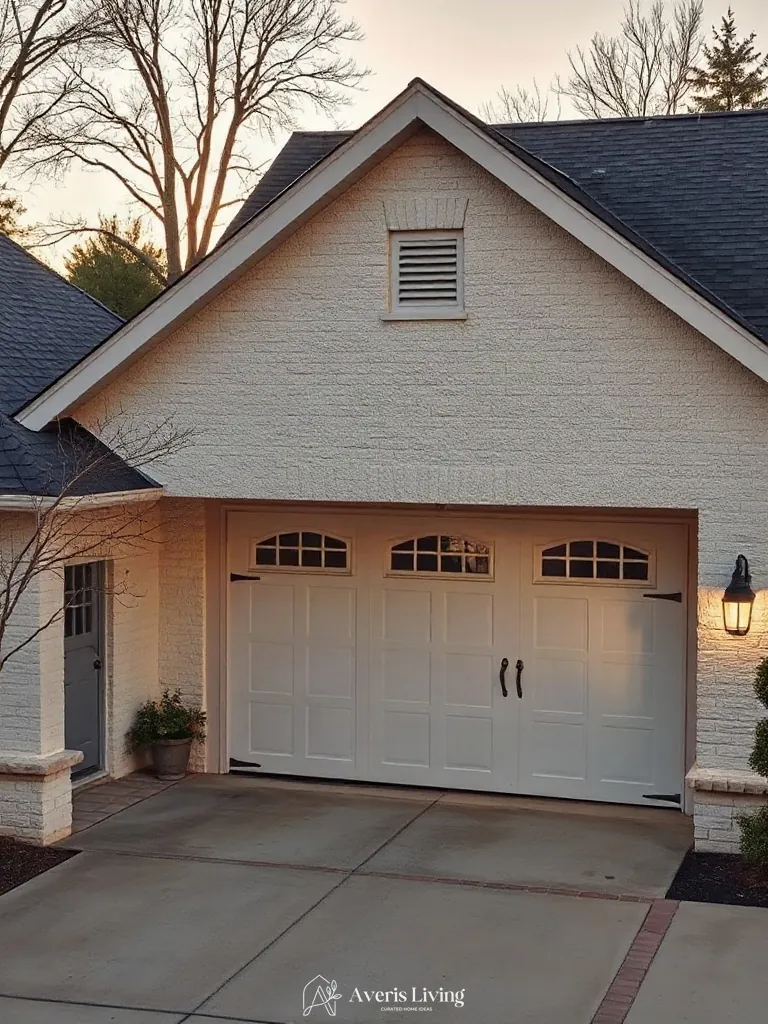
Transforming utilitarian masonry into a tactile feature wall elevates Affordable Garage Colors by introducing rich porous textures reminiscent of exposed limestone or stacked shale. A diluted whitewash tint settles deep into the rough aggregate, catching oblique golden-hour light to create soft, chalky highlights across the rugged surface.
Apply a 1:1 ratio of white masonry paint and water using a coarse-bristle block brush. Once completely dry, seal the porous substrate with a satin-finish water-based polyurethane, rolling two even coats to lock in the matte mineral finish against moisture.
Mount articulating industrial gooseneck wall lamps in matte black above the main workbench
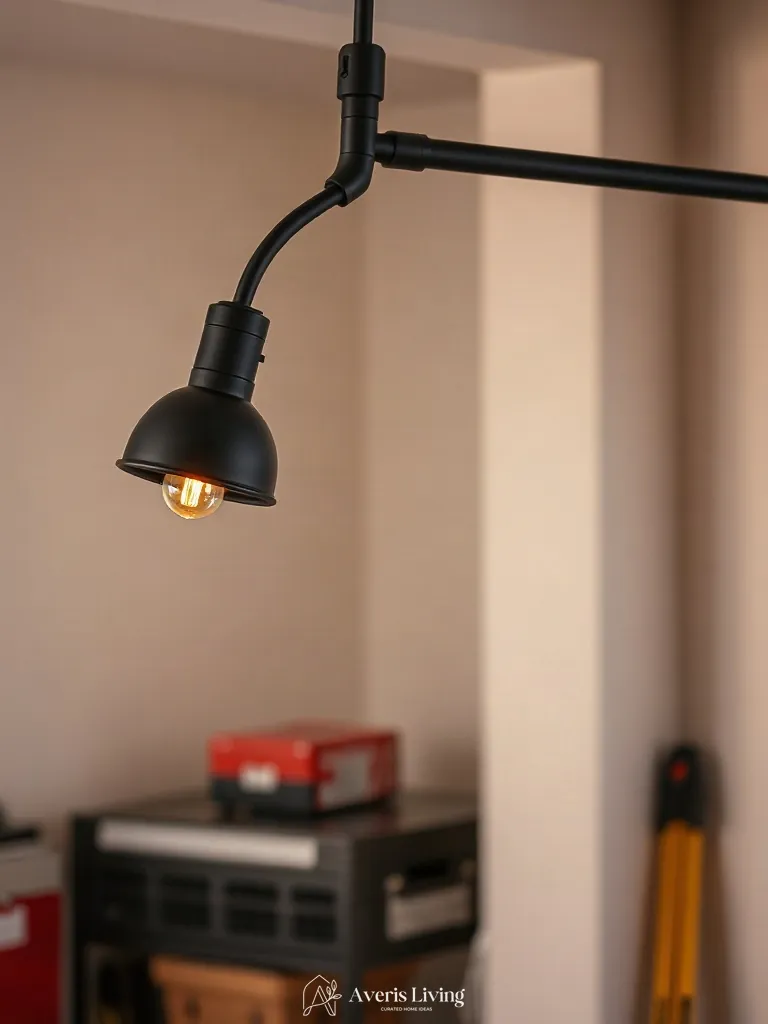
Layering task lighting over your workbench enhances spatial depth, proving that Affordable Garage Colors perform best under precise illumination. Matte black articulating gooseneck lamps deliver direct, directional downlighting with a narrow 45-degree beam angle. This focused output eliminates overhead shadows on your work surface while dramatically altering the perceived scale of the zone.
Mount the fixtures exactly 32 inches above the workbench surface using a 2700K LED bulb for warm, high-contrast task visibility. The adjustable arm allows you to pivot the matte black steel shade, directing lumens precisely where needed while maintaining a polished industrial aesthetic.
Recess warm-3000K LED strip lighting inside overhead rafters for a shadow-free ambient workspace glow
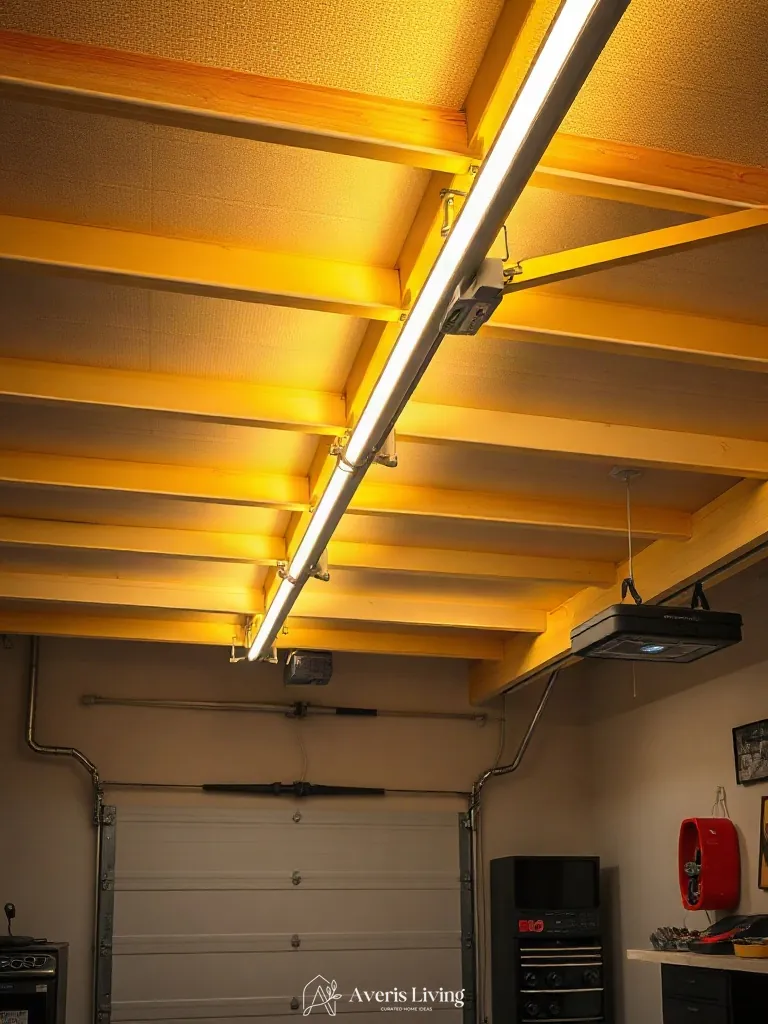
Integrating 3000K warm LED strip lighting recessed deeply inside overhead wooden rafters completely alters the architectural perception of a garage, mimicking high-end interior lighting design. This strategic layer of ambient illumination eliminates harsh shadows, balancing walls painted in affordable garage colors with a cozy, inviting glow that elevates the structural volume.
To execute this, secure flexible silicone-diffused 24V LED strips delivering 450 lumens per meter directly into upward-facing dado cuts along the rafter beams. Use a 120-degree beam angle to softly wash the ceiling planes, ensuring an even, glare-free nocturnal atmosphere.
Hang a heavy-duty cage pendant light with an Edison bulb directly over the central hobby table
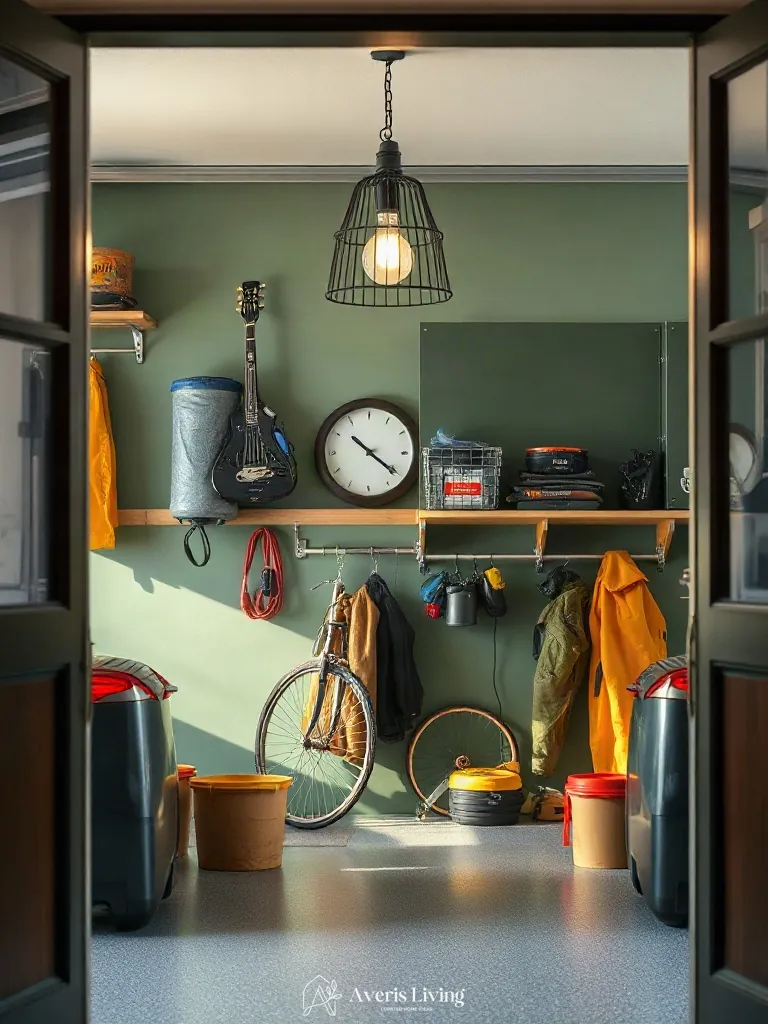
Hanging a heavy-duty steel cage pendant directly over your central hobby table establishes a distinct focal point in your living room conversion. Emitting a warm 2700K vintage Edison bulb provides a golden amber glow that softens stark architectural angles. This focused 60-degree beam angle creates an intimate pool of light, shifting the perceived scale of the room downward and enhancing cozy, editorial-style aesthetics.
Mount the fixture precisely 30 inches above the tabletop surface to maximize downward task efficiency while preventing direct glare. Hardwire the brass-accented cord to a ceiling junction box equipped with an inline dimmer switch to seamlessly adjust the illumination levels from bright crafting to ambient evening relaxation.
Install slimline under-cabinet LED bar fixtures beneath the upper tool shelves for focused task illumination
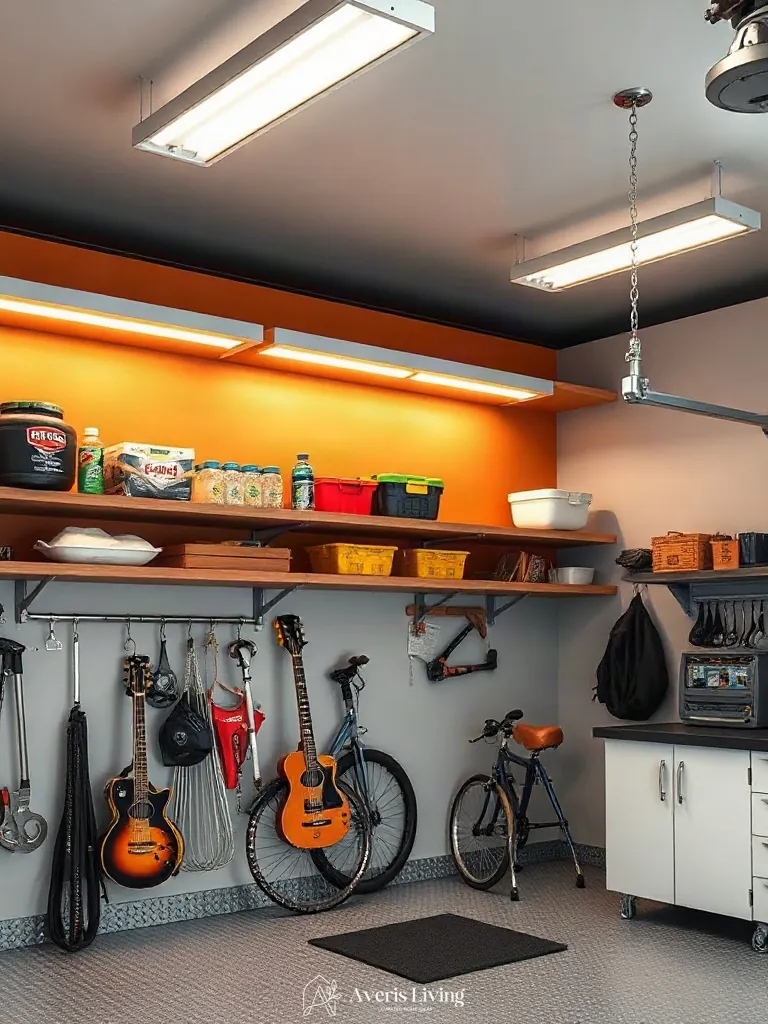
Layering task lighting beneath upper tool shelves transforms the vertical plane, shifting perception to create an expansive, high-end feel akin to an architectural living room. Slimline aluminum LED bar fixtures operating at a crisp 4000K neutral white temperature project a targeted 120-degree beam angle. This eliminates stubborn shadows across countertops.
Mount the fixtures flush against the front edge of the shelving using heavy-duty magnetic brackets to direct luminescence downward. This prevents glare on metallic tools while enhancing the chosen Affordable Garage Colors backdrop with clean, precise illumination.
Position a heavy-duty butcher block workbench sealed with amber polyurethane as the primary functional anchor
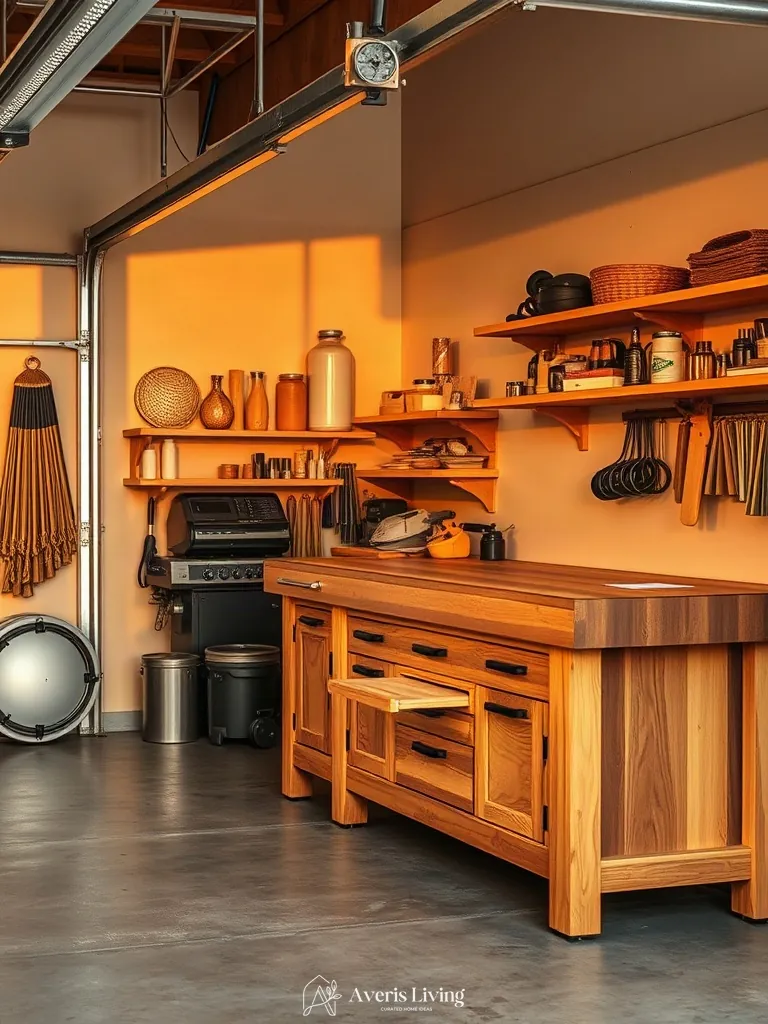
A robust butcher block workbench serves as the ultimate hero furniture piece, grounding the room composition with substantial proportions and rich grain textures. Crafted from dense 2-inch thick hard maple, this statement anchor balances rugged utility with refined craftsmanship, seamlessly integrating with sophisticated Affordable Garage Colors.
Position the 60-inch slab on sturdy welded steel legs with adjustable leveling feet. Apply three coats of marine-grade amber polyurethane, sanding lightly between applications with 220-grit paper to achieve a resilient, high-gloss moisture barrier.
Introduce a rolling utility cart powder-coated in striking cobalt blue as a mobile tool station
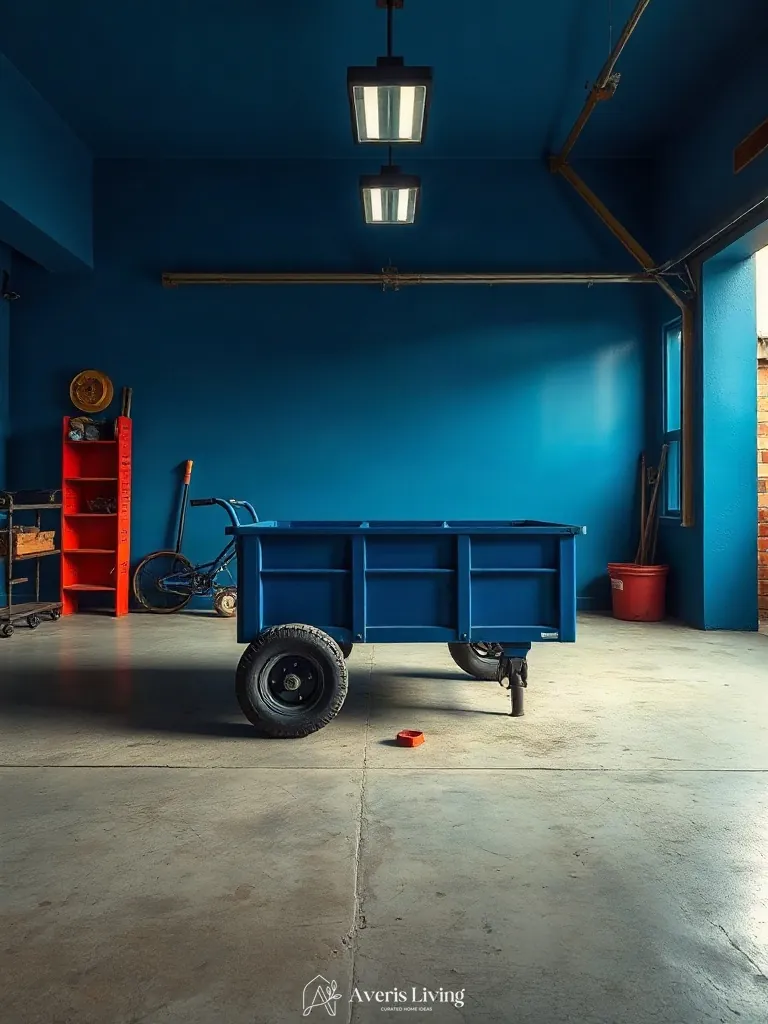
A mobile utility cart serves as a dynamic statement piece, breaking up static perimeters with compact 30×18-inch proportions and heavy-duty swivel casters. The vibrant powder-coated cobalt finish introduces high-impact color, anchoring the composition through contrasting industrial mass.
To execute this look, select a three-tier steel cart with a 400-pound total load capacity. Style the top tier with matching tool organizers to maintain visual cohesion while integrating the piece seamlessly into your upgraded garage color scheme.
Place a vintage leather armchair in the corner retreat space treated with rich amber leather conditioner
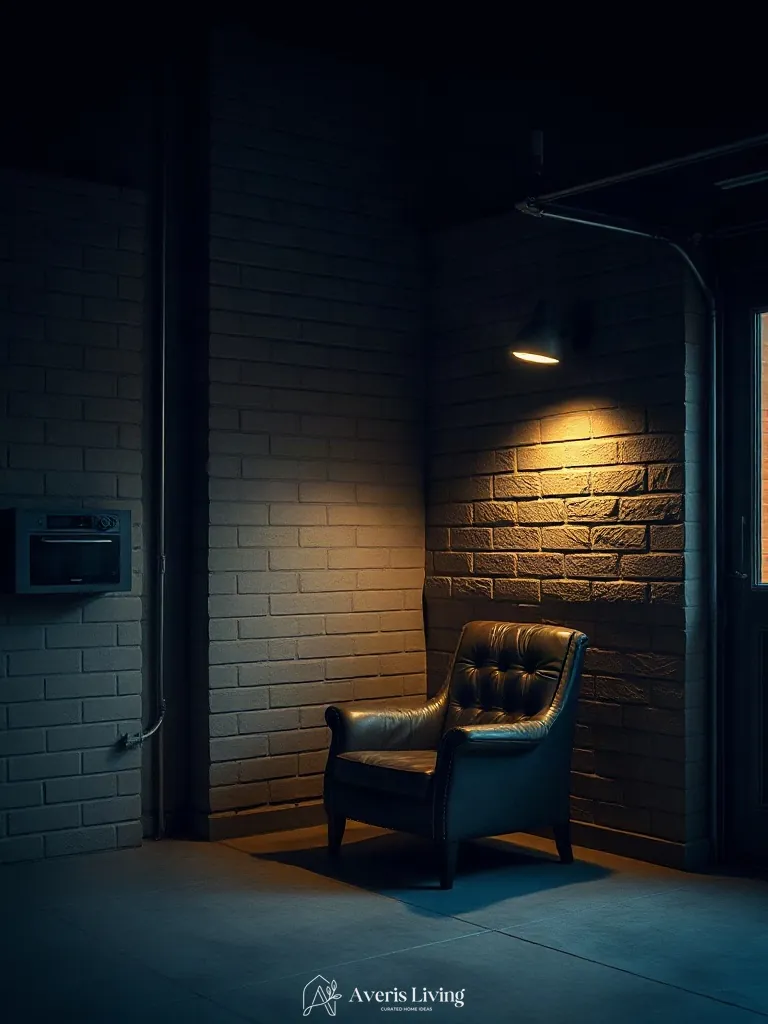
Introducing a vintage leather armchair instantly shifts the spatial dynamics, proving that unexpected hero furniture elevates even the most rugged living room layouts. Selecting a substantial 36-inch wide profile creates immediate visual weight, while tapered walnut legs elevate the silhouette off the concrete floor. This piece defines the corner lounge, contrasting against moody Affordable Garage Colors with tactile warmth.
To execute this look, condition the hide using rich amber leather balm to deepen the patina. Position the chair precisely eight inches from the adjacent wall, angled at forty-five degrees to maximize the dramatic side-lit silhouette.
Anchor the storage wall with modular heavy-duty steel shelving sprayed in matte olive green
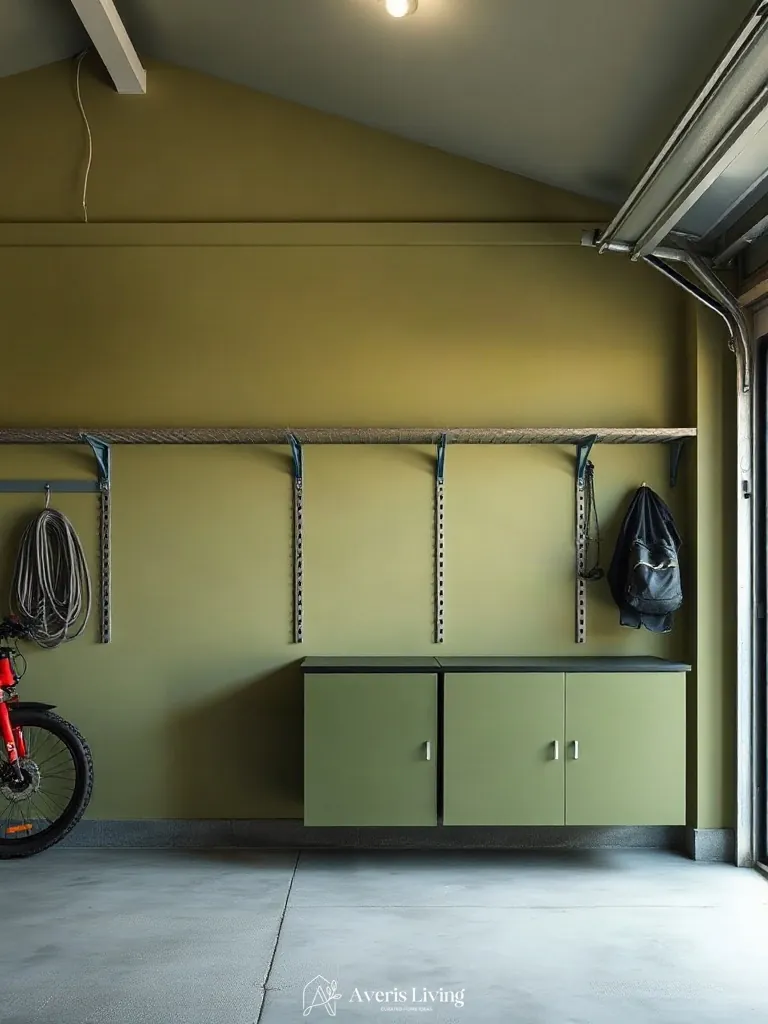
Elevating your living room configuration requires anchoring vertical planes with substantial hero furniture that dictates spatial proportions. By mounting modular heavy-duty steel shelving units finished in a sophisticated matte olive green powder coat, you establish an assertive visual weight that balances low-profile seating. The robust metal uprights and thick gauge shelves command attention, transforming standard storage into a striking statement piece.
Secure the steel framework directly into wall studs using heavy-duty lag bolts spaced precisely sixteen inches apart to support deep vertical loads. Style the upper tiers with minimalist decor while keeping lower shelves open to maintain an airy lower silhouette, proving that functional Affordable Garage Colors can seamlessly anchor a refined, industrial-inspired interior layout.
Arrange a magnetic tool holder strip filled with polished chrome wrenches against a stark white accent wall
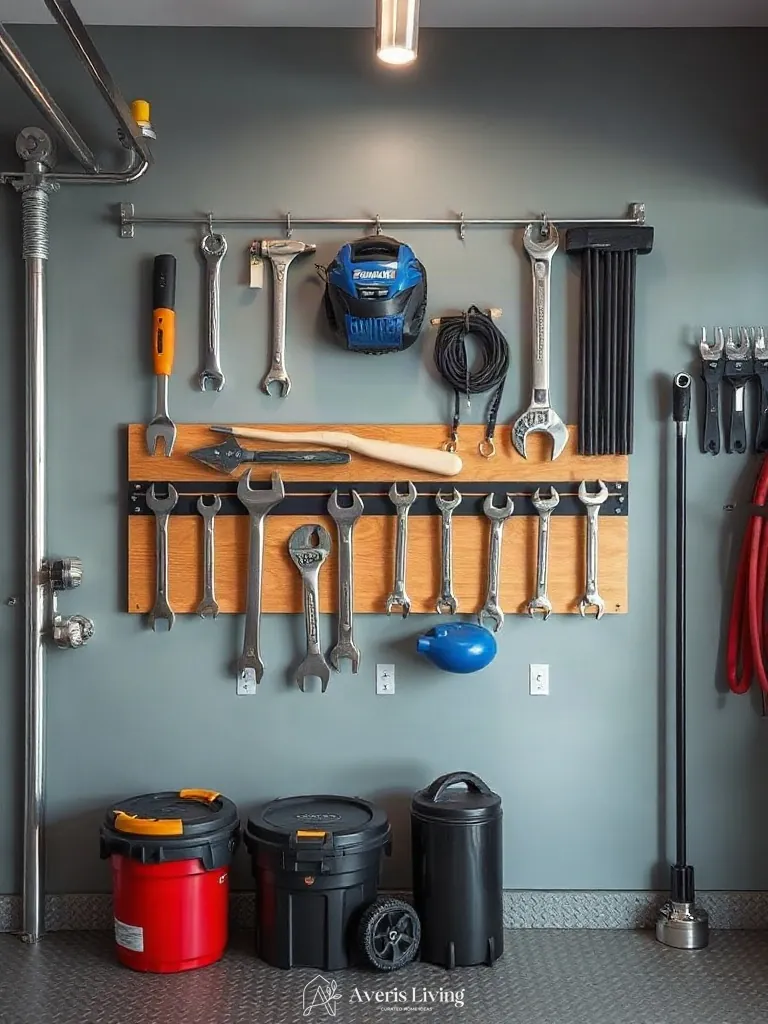
Arranging polished chrome wrenches on a magnetic strip against a stark white wall creates high-impact object grouping. This vignette contrasts heavy metallic tools with clean negative space, framing hardware like modern sculpture. The reflective chrome catches midday light, echoing high-end editorial styling while transforming utilitarian gear into curated display art.
Mount a 24-inch heavy-duty magnetic tool bar exactly 60 inches above the floor using drywall anchors. Space identical drop-forged chrome combination wrenches precisely one inch apart to maintain visual rhythm, balancing scale through precise alignment.
Hang a large vintage metal gas station sign as the main decorative focal point above the side entry
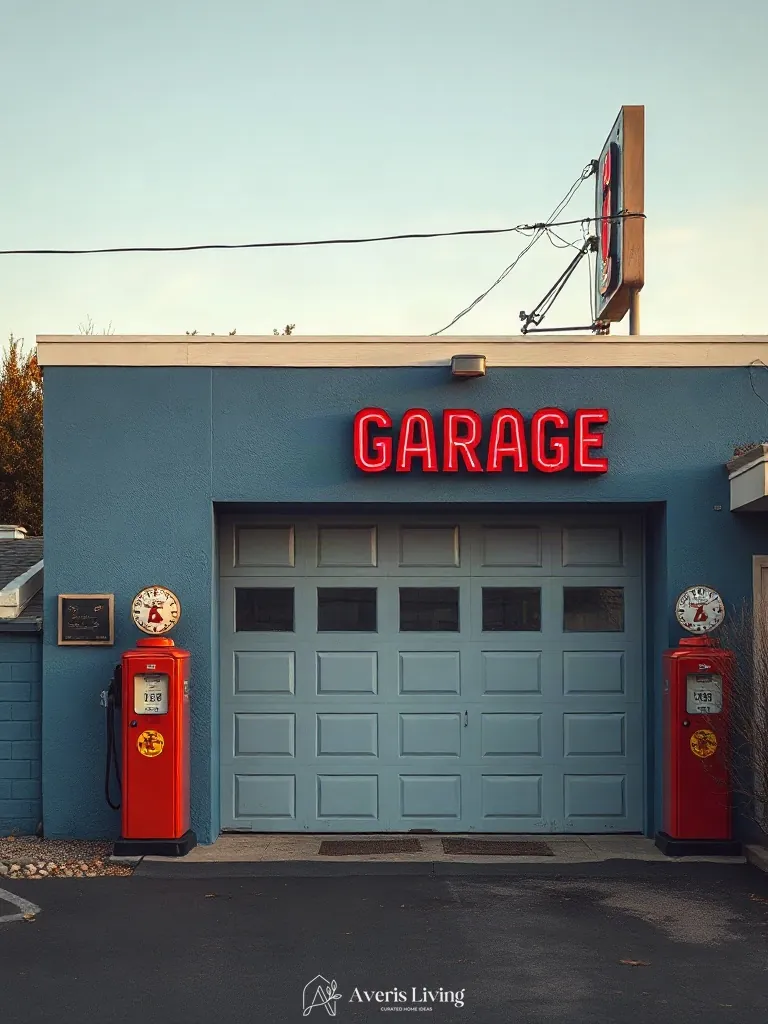
Hanging a large vintage metal gas station sign above the side entry establishes a striking focal point, leveraging dramatic scale contrast against bare drywall. Surrounded by generous negative space, this distressed porcelain piece introduces authentic patina, elevating your garage interior beyond basic storage utility.
Position the lower edge exactly twelve inches above the door frame to maintain optimal visual balance. Flank the signage with a single Sansevieria trifasciata in a ribbed concrete planter, applying a strict rule of three objects per vignette to curate the display.
Style a staggered trio of galvanized steel watering cans and potted snake plants on a lower shelf
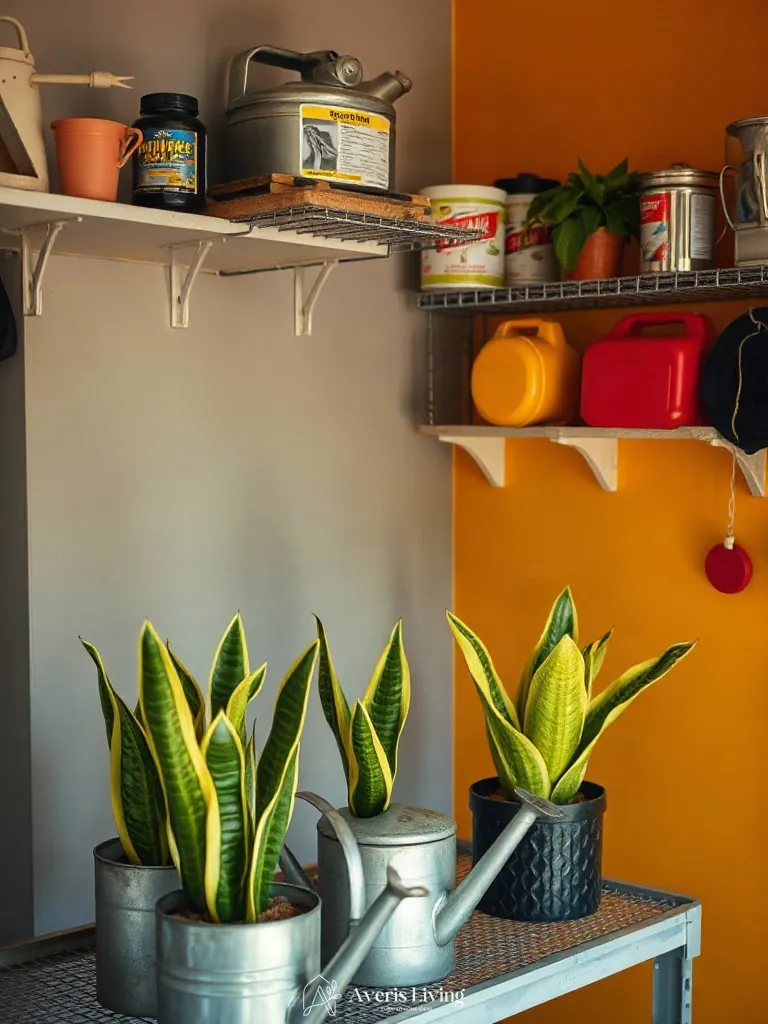
Balancing scale and texture elevates utilitarian shelving in a living room inspired display. Pairing slender, upright Sansevieria trifasciata snake plants with industrial galvanized steel watering cans creates an intentional contrast. The ribbed zinc finish offsets the architectural green leaves, introducing negative space that prevents visual clutter across the lower tier.
Apply the rule of three by staggering heights: position an eight-inch potted snake plant flanked by two 1.5-gallon vintage watering cans. Leave at least four inches of breathing room between vessels to maintain an editorial finish.
Mount a heavy-duty rubber-coated bike rack displaying a matte black vintage road bicycle as wall art
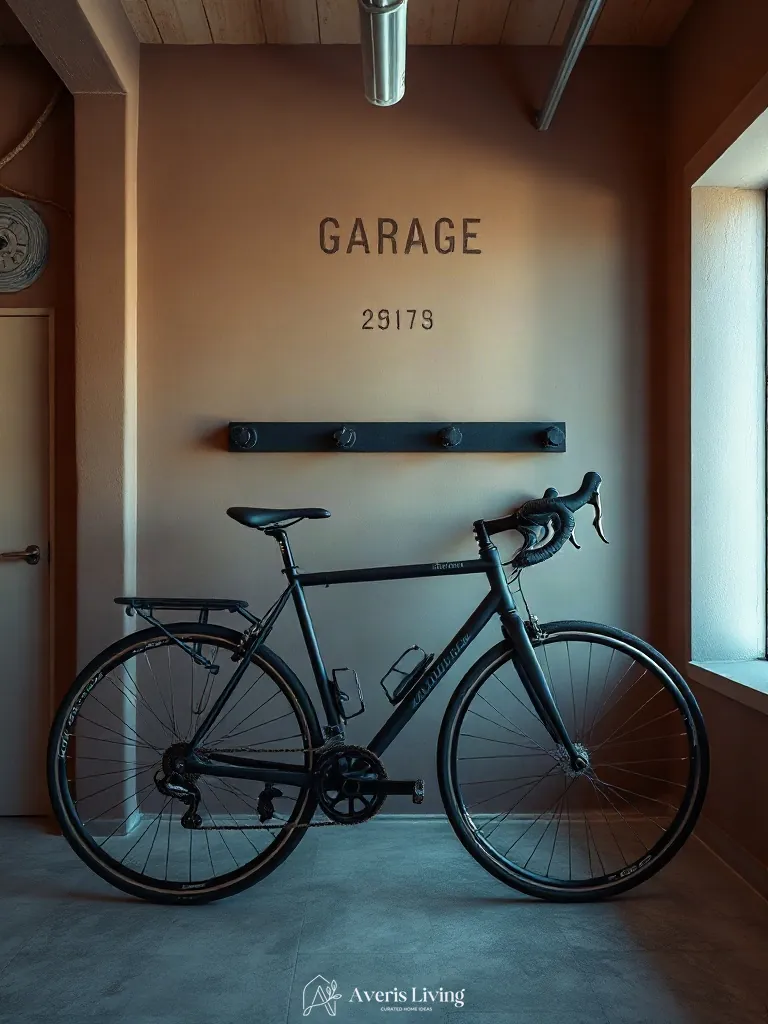
Elevating a modern living room or refined workspace with architectural edge requires striking a balance between heavy machinery and negative space. Suspending a matte black vintage road bicycle on a heavy-duty rubber-coated rack introduces striking scale contrast against expansive neutral walls. Pairing this sleek silhouette with a low-slung, matte ceramic vessel holding a sculptural Sansevieria trifasciata creates intentional height variation. This juxtaposition transforms utilitarian transit gear into high-end gallery pieces.
Mount the steel bracket securely into a wooden stud exactly sixty-four inches from the finished floor to center the bicycle at eye level. Leave at least twenty-four inches of pristine drywall surrounding the handlebars to preserve breathing room and emphasize the sculptural lines. When balancing your overall interior palette, select a backdrop color that complements these darker metallic finishes to complete your cohesive design scheme.
Revamping your garage with affordable colors and smart DIY finishes is one of the most rewarding home improvement projects you can undertake. By combining durable epoxy floor coatings, strategic color blocking, and creative organizational styling, you elevate an ordinary utility area into an organized, beautiful extension of your living space.
Save your favorite design concepts, pick up your painting supplies, and start transforming your garage today!